Today we continue working on our skulls. Remember:
-Use both radial balance and symmetrical balance (see last post)
-Use a complimentary color scheme (red/green, blue/orange, yellow/violet)
-Use brushes and stock photos equally to decorate your skull
-Fill the skull completely.
Shortcuts:
CTRL-J : Duplicates a layer
CTRL - SHIFT - J : Cuts something into it's own layer
CTRL - T : Transforms a layer (resize, flip, rotate)
CTRL - ALT - Z : Undo
CTRL - SHIFT - I : Inverts your selection
CTRL - D : Deselect
To RUN A CONTACT SHEET:
1. Put all your finished PNGs into one folder
2. Open photoshop and click FILE--> Automate--> Contact sheet II
3. Choose your folder at the top by choosing "browse"
4. In the BOTTOM section where it says "columns" and "rows", enter 5 cols and 10 rows
5. Click OK and hands off! Let photoshop do its thing.
6. Save as JPG and drop into the turn-in folder
Monday, October 10, 2016

Tuesday, October 4, 2016

Open the Miss E folder on the M:/
Select which skull template you would like to use and open it in photoshop.
Select the color scheme you would like to use.
As you design your skull, you will show evidence of using 2 types of balance: Symmetrical balance, and radial balance. Symmetrical balance means both sides are mirror images of each other. Radial balance means your elements come from a central point and "radiate" out in a circle.

 Symmetrical balance in a photograph
 Radial balance in a photograph
Monday, October 3, 2016


Photo I: Continue editing your stock photos. You should have anywhere from 60-100+ stock photos from the last few days of shooting. After editing, I would expect that you have about 50 usable stock PNG files.
Photo II: Today is great lighting to take your selfie! Remember to crop in close to your face- even closer than my examples. You should have finished your stock photo edits and basic self portrait by today.
Photo II: Here is my original, basic selfie (top), an example of A work (middle), and an example of average work (bottom).
Thursday, September 29, 2016

Today we will be editing our collection of stock photos. See the before and after photos to the right.
 First, look through your photos and delete anything that is BLURRY or cut off on the edges.
Next, open a stock image and double click the layer to unlock it.
1. Press C to open the crop tool. Take off any excess white.
2. Press SHIFT-CTRL-B to auto correct color.
3. Press CTRL-L to open Levels and make adjustments to contrast/white balance.
4. Use magic wand or quick select to select the white background.
5. Click "Refine Edge". Adjust the "Smooth" slider to eliminate ragged edges. Click OK.
6. Press backspace to cut the white background.
We will be saving these as a PNG file this time- not a JPG. PNG keeps your background clear, allowing you to use the image almost like a sticker.
Monday, September 26, 2016
Creating stock photos for sugar skulls
You are going to begin taking stock photos of all different flowers, candy, and fruit for your Day of the Dead Skull. Remember, use a plain white background when possible, unless your object is white or very light in color.

Review your camera procedures!
-how to carry the camera
-how to remove and replace lens cap
-how to clean the lens
-how to remove and replace batteries
-basic camera functions
-uploading to computer
 For this period, your goal is to shoot as many objects as you can. The more you take now, the more you have to choose from later when you decorate your skull. Try to get EVERY object!
Remember to photograph the whole object, 1 at a time, like the examples shown. Do not let pieces of the object get cut off at the edge.
Create a new folder inside Quarter 1, named "Stock Images". Upload your stock photos (each partner) at the end of class.

Review your camera procedures!
-how to carry the camera
-how to remove and replace lens cap
-how to clean the lens
-how to remove and replace batteries
-basic camera functions
-uploading to computer
 For this period, your goal is to shoot as many objects as you can. The more you take now, the more you have to choose from later when you decorate your skull. Try to get EVERY object!
Remember to photograph the whole object, 1 at a time, like the examples shown. Do not let pieces of the object get cut off at the edge.
Create a new folder inside Quarter 1, named "Stock Images". Upload your stock photos (each partner) at the end of class.
Thursday, September 22, 2016
Read and review: Day of the Dead...Sugar skulls are coming!
Day of the Dead artwork is not meant to be scary. Just the opposite - this
artwork is meant to celebrate the spirit and honor the memory of
those who have passed. Day of the Dead is known as "Dia de los Muertos"
in Spanish. It is a Latin American holiday falling on November 1 and 2 of every
year. On these two special days, Latin American families and friends gather to
celebrate, honor, remember and pray for their departed loved ones. November 1
honors departed children and November 2 honors adults.
Day
of the Dead art is alive with smiling skulls in kaleidoscope colors, full
of decorative and detailed designs. It is a vibrant art of colors and chaos.
Look at the skull art on this page. What do you see: evil skull drawings or
benevolent beings? Sweet or sinister smiles? The answer may depend on how you
interpret death.

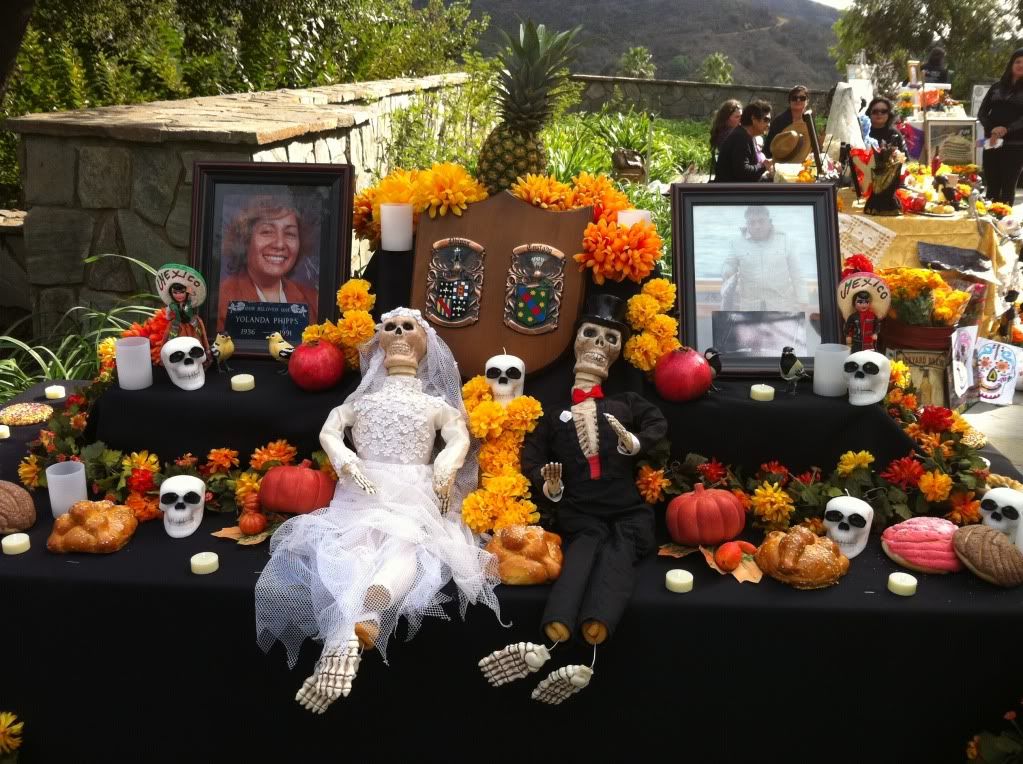
To celebrate the deceased is to accept that death is an
inevitable part of life. Life and death are two sides of the same coin - life
cannot exist without death, and vice versa. Plans for
the day are made throughout the year, including gathering the goods to be
offered to the dead. During the three-day period families usually clean and
decorate graves;[2] most
visit the cemeteries where their loved ones are buried and decorate their
graves with ofrendas (offerings), which often include orange Mexican
marigolds. These flowers are thought to attract souls of the dead to the
offerings. Families will also offer trinkets or the deceased's favorite candies
on the grave. The intent is to encourage visits by the souls, so the souls will
hear the prayers and the comments of the living directed to them. Celebrations
can take a humorous tone, as celebrants remember funny events and anecdotes
about the departed.
Some families build altars or small shrines in their homes. These altars are decorated using sugar
skulls, marigolds, candles, Christian crosses, images or statues of the Virgin
Mary, and photos of the departed, as well as their favorite foods and
beverages.


 Skulls (known as calaveras) are ubiquitous in Day of the Dead celebrations. They are the ultimate symbol of
mortality. Underneath our fleshy exterior, our very earthly existence depends
upon this skeletal foundation. Therefore Day of the Dead art revolves around
imagery of skulls and skeletons in many states and forms: dancing, cooking,
smiling, and playing banjo, for example. The belief is that our personalities
and identities carry on into the afterlife. So when a person buys an image or
statue of a skeleton baking bread and places it on an altar in honor of their
aunt who was a baker, the image is said to help the dead soul find her way back
to the altar where she can commune with her relatives. This is why there are
numerous depictions of skeletons engaged in various specific activities. Skulls will be made from foods such as
chocolate or sugar and decorated with bright colors. Sugar skulls as gifts can
be given to both the living and the dead. Day of the Dead artwork is often colorful and lively, sometimes
whimsically macabre. Day of the Dead art is ironically full of life. To those
of us who did not grow up in Latin American culture, Day of the Dead art
rejuvenates our common Western perception of death by presenting a view of the
afterlife that is full of energy and spirit, worthy of joy and celebration. It
brings with it the hope that after death, there will still be another tomorrow.
Skulls (known as calaveras) are ubiquitous in Day of the Dead celebrations. They are the ultimate symbol of
mortality. Underneath our fleshy exterior, our very earthly existence depends
upon this skeletal foundation. Therefore Day of the Dead art revolves around
imagery of skulls and skeletons in many states and forms: dancing, cooking,
smiling, and playing banjo, for example. The belief is that our personalities
and identities carry on into the afterlife. So when a person buys an image or
statue of a skeleton baking bread and places it on an altar in honor of their
aunt who was a baker, the image is said to help the dead soul find her way back
to the altar where she can commune with her relatives. This is why there are
numerous depictions of skeletons engaged in various specific activities. Skulls will be made from foods such as
chocolate or sugar and decorated with bright colors. Sugar skulls as gifts can
be given to both the living and the dead. Day of the Dead artwork is often colorful and lively, sometimes
whimsically macabre. Day of the Dead art is ironically full of life. To those
of us who did not grow up in Latin American culture, Day of the Dead art
rejuvenates our common Western perception of death by presenting a view of the
afterlife that is full of energy and spirit, worthy of joy and celebration. It
brings with it the hope that after death, there will still be another tomorrow.ANSWER THE FOLLOWING IN A WORD DOC:
1. List 3 things you
learned that you did not know about Day of the Dead before:
-
-
-
2. How would you summarize this holiday?
3. How do you feel about celebrating death this way?
4. List all the symbols (or items) you can find in the text
which are associated with this holiday:
5. How does the Day of the Dead compare and contrast to the
American holiday of Halloween?
Wednesday, September 21, 2016
Good morning everyone! Again, I cannot make it today. Your options for today are:
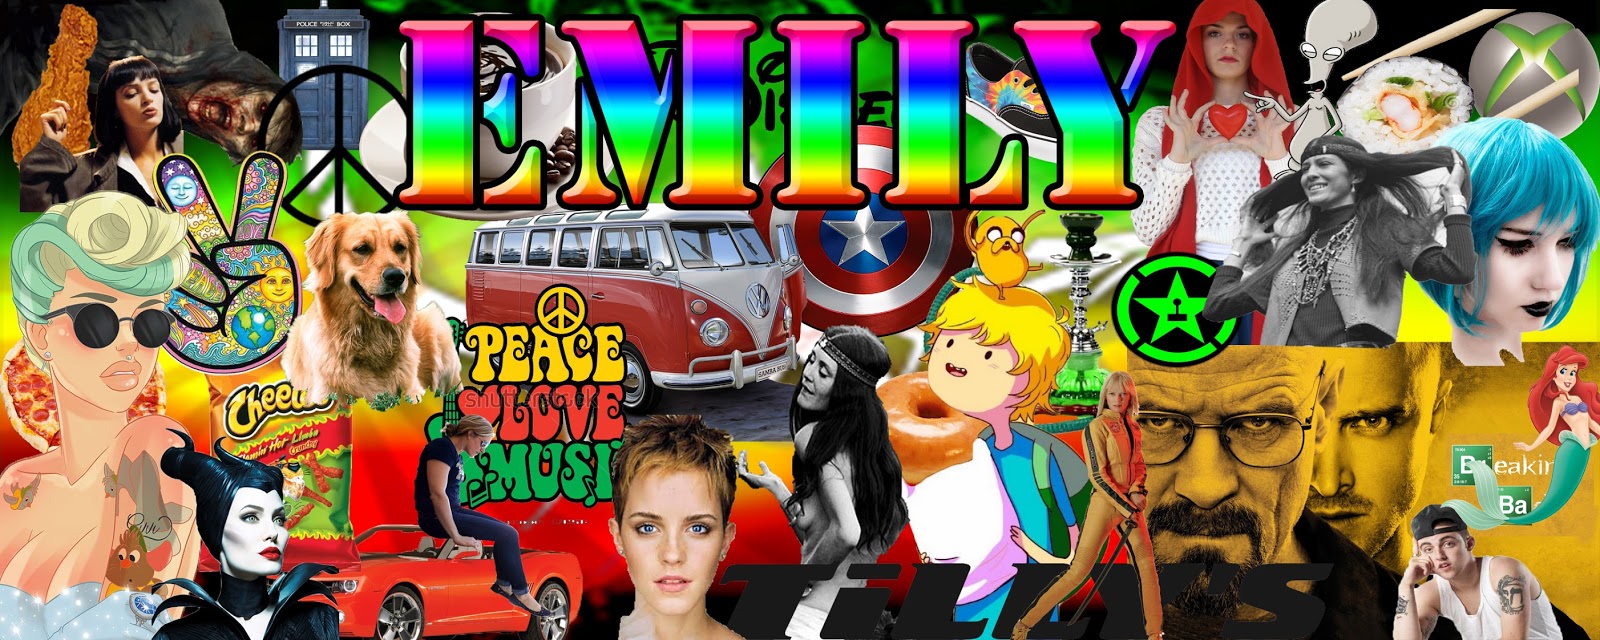
1. Finish your main name banner if you haven't, and save it as Lastname_Firstname_Banner
2. Continue on to create a 2nd banner for extra credit. This can be someone else's name that you know, or even a collage for your favorite musician/TV show/ food/ whatever.
3. Play around with this graffiti text creator to create an interesting, custom name for yourself. Make sure to try all the features like changing colors, outlines, patterns, etc. SAVE IT FOR EXTRA CREDIT.
****Remember, when I am gone, you may need to rely on your neighbors to help you when you get stuck. Ask your row mates next to you. Don't be afraid to say, "Hey, how did you change color on your letters?" or "Can you see what I'm doing wrong? This isn't working".
1. Finish your main name banner if you haven't, and save it as Lastname_Firstname_Banner
2. Continue on to create a 2nd banner for extra credit. This can be someone else's name that you know, or even a collage for your favorite musician/TV show/ food/ whatever.
3. Play around with this graffiti text creator to create an interesting, custom name for yourself. Make sure to try all the features like changing colors, outlines, patterns, etc. SAVE IT FOR EXTRA CREDIT.
----> http://www.graffiticreator.net/ <------
Think you're a PRO? Import your graffiti name into Photoshop, and give it a custom background layer like a brick or cement wall.****Remember, when I am gone, you may need to rely on your neighbors to help you when you get stuck. Ask your row mates next to you. Don't be afraid to say, "Hey, how did you change color on your letters?" or "Can you see what I'm doing wrong? This isn't working".
Tuesday, September 20, 2016
Good morning everyone,
Sorry I couldn't make it today. You are finishing up your name banners. Remember, they should be FULL and properly cut. Add layer styles (the little fx button) if you haven't already.
Name them Lastname_firstname_banner and tomorrow I will show you how to save them correctly. You can always start another extra credit banner! Follow these steps:
Click File--> new.
Change "pixels" to "inches"
Type 10 width, 4 height, and 300 resolution.
Create a banner for any theme you want!
Sorry I couldn't make it today. You are finishing up your name banners. Remember, they should be FULL and properly cut. Add layer styles (the little fx button) if you haven't already.
Name them Lastname_firstname_banner and tomorrow I will show you how to save them correctly. You can always start another extra credit banner! Follow these steps:
Click File--> new.
Change "pixels" to "inches"
Type 10 width, 4 height, and 300 resolution.
Create a banner for any theme you want!
Friday, September 16, 2016



Subscribe to:
Posts (Atom)