Friday, October 28, 2016

Viewpoints due!

VIEWPOINTS CONTACT SHEET AND BEST PHOTO DUE TODAY!

Put your JPG contact sheet and best photo both in the viewpoints contact sheet folder.

Thursday, October 27, 2016

Viewpoints contact sheets

1. Make sure your photos are named correctly (see post 2 days earlier)
2. Run your contact sheet to have 3 columns, 5 rows. 
3. Save it as a jpg, named Lastname_Firstname_viewpoints_contact.jpg
4. Drop it in the correct turn-in folder
5. Select a tutorial to complete for extra credit at one of the following sites:

*** Remember, you must be working on photography related tasks all period. Even if you are finished early, you need to be pushing your knowledge and practicing in Photoshop. Photography is like a sport or musical instrument- you only get better by DOING it.***

Example of a finished viewpoints contact sheet:


Wednesday, October 26, 2016

Before and after editing from Juan

If you are finished editing, you can run a contact sheet with 3 columns and 5 rows
Save as JPG and name your sheet Lastname_Firstname_viewpoints_contact.jpg


Tuesday, October 25, 2016

5 best views

Remember you are choosing YOUR 5 best birds eye, 5 best worms eye, and 5 best tilt photos.

You must have your OWN set- no sharing images. And if YOU are in the picture, and it's not a selfie, then you are not the photographer. You can still edit pictures your partner took of you for your own practice and enjoyment, but you can only turn in pictures where YOU were the photographer.

Editing makes a difference- look at the same photo, edited 4 different ways:

1. Original photo 2. Black and white with warming filter  3. Vintage faded   4. High contrast high saturation

Editing can be the difference between an average photo and an eye-catching photo. Check out Juan's before and after photos below:

Monday, October 24, 2016

Today you will begin editing your photos by doing your cropping, levels, and naming. Pick your 5 best birds, your 5 best worms, and 5 best tilt for editing.
birds_1.jpg
birds_2.jpg
birds_3.jpg etc.
worms_1.jpg
worms_2.jpg etc.
tilt_1.jpg
tilt_2.jpg

We will review those common mistakes beginners make first, then look at the best ways to crop our photos. Then we will play around with different basic editing effects.

Remember, you can get to levels with CTRL-L or IMAGE-->Adjustments-->Levels

Hue and Saturation is IMAGE-->Adjustments-->Hue/Saturation
You can turn saturation down for a faded, vintage look

You can try IMAGE--> Adjustments--> Black and White for a classic look

You can play with IMAGE-->Adjustments-->Brightness contrast for a high powered punch


Thursday, October 20, 2016

We don't want to start editing until we can fully, safely save our files, so we will go out for more viewpoints photo challenges! Today you will try to get all 3 creative viewpoints of...

*Lockers
*Some kind of architecture/building
*A doorknob
*A leaf
*A flower
*Something red

Remember... be artistic and creative! Try to get a shot that someone will want to look at again. Try to get a shot that, with a little editing, can end up as good as some of these past student examples:

Worms eye lock (object you choose)

Birds eye leaf

Worms eye portrait

Tuesday, October 18, 2016

Photograph each subject in BIRDS EYE, WORMS EYE, and DUTCH TILT:

*Person
*Car/part of a car
*Shoe
*Tree or flower
*Camera
*Water bottle or cup
*Yourself
*Your choice


Remember… We are trying to be artistic and creative. Try to do something DIFFERENT.

Examples of creative birds eye  portraits:


Monday, October 10, 2016

Helpful hints

Today we continue working on our skulls. Remember:
-Use both radial balance and symmetrical balance (see last post)
-Use a complimentary color scheme (red/green, blue/orange, yellow/violet)
-Use brushes and stock photos equally to decorate your skull
-Fill the skull completely.

Shortcuts:
CTRL-J : Duplicates a layer
CTRL - SHIFT - J : Cuts something into it's own layer
CTRL - T : Transforms a layer (resize, flip, rotate)
CTRL - ALT - Z : Undo
CTRL - SHIFT - I : Inverts your selection
CTRL - D : Deselect

To RUN A CONTACT SHEET:
1. Put all your finished PNGs into one folder
2. Open photoshop and click FILE--> Automate--> Contact sheet II
3. Choose your folder at the top by choosing "browse"
4. In the BOTTOM section where it says "columns" and "rows", enter 5 cols and 10 rows
5. Click OK and hands off! Let photoshop do its thing.
6. Save as JPG and drop into the turn-in folder

Tuesday, October 4, 2016


Open the Miss E folder on the M:/
Select which skull template you would like to use and open it in photoshop.
Select the color scheme you would like to use.

As you design your skull, you will show evidence of using 2 types of balance: Symmetrical balance, and radial balance. Symmetrical balance means both sides are mirror images of each other. Radial balance means your elements come from a central point and "radiate" out in a circle.

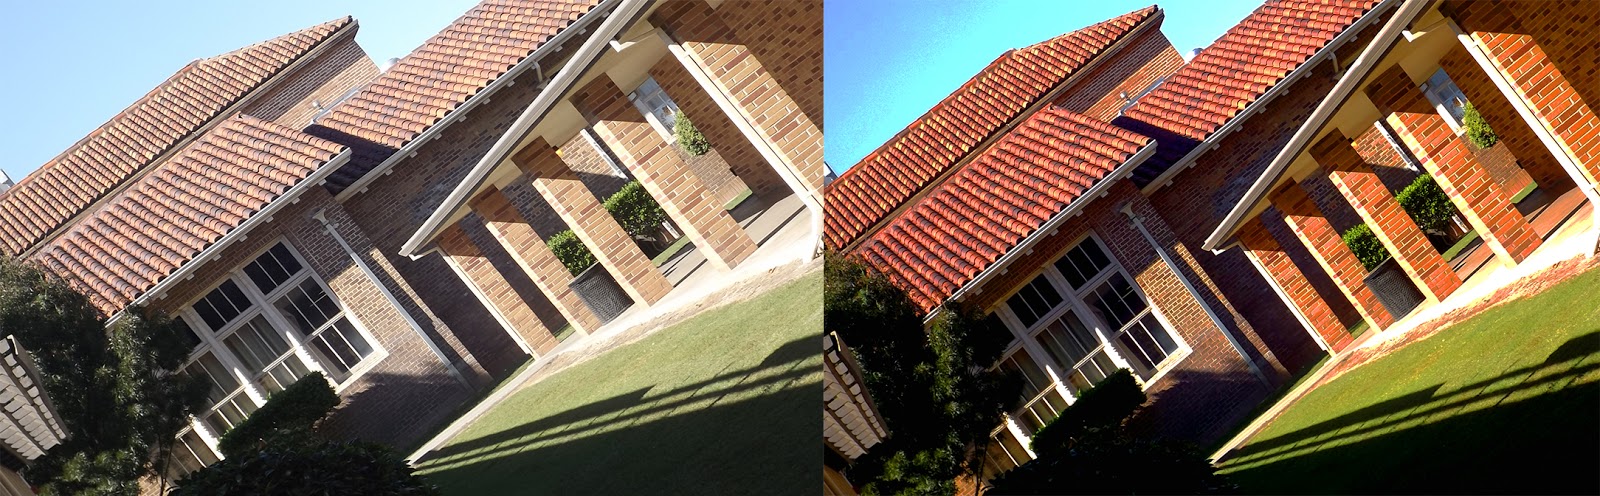
Symmetrical balance in a photograph

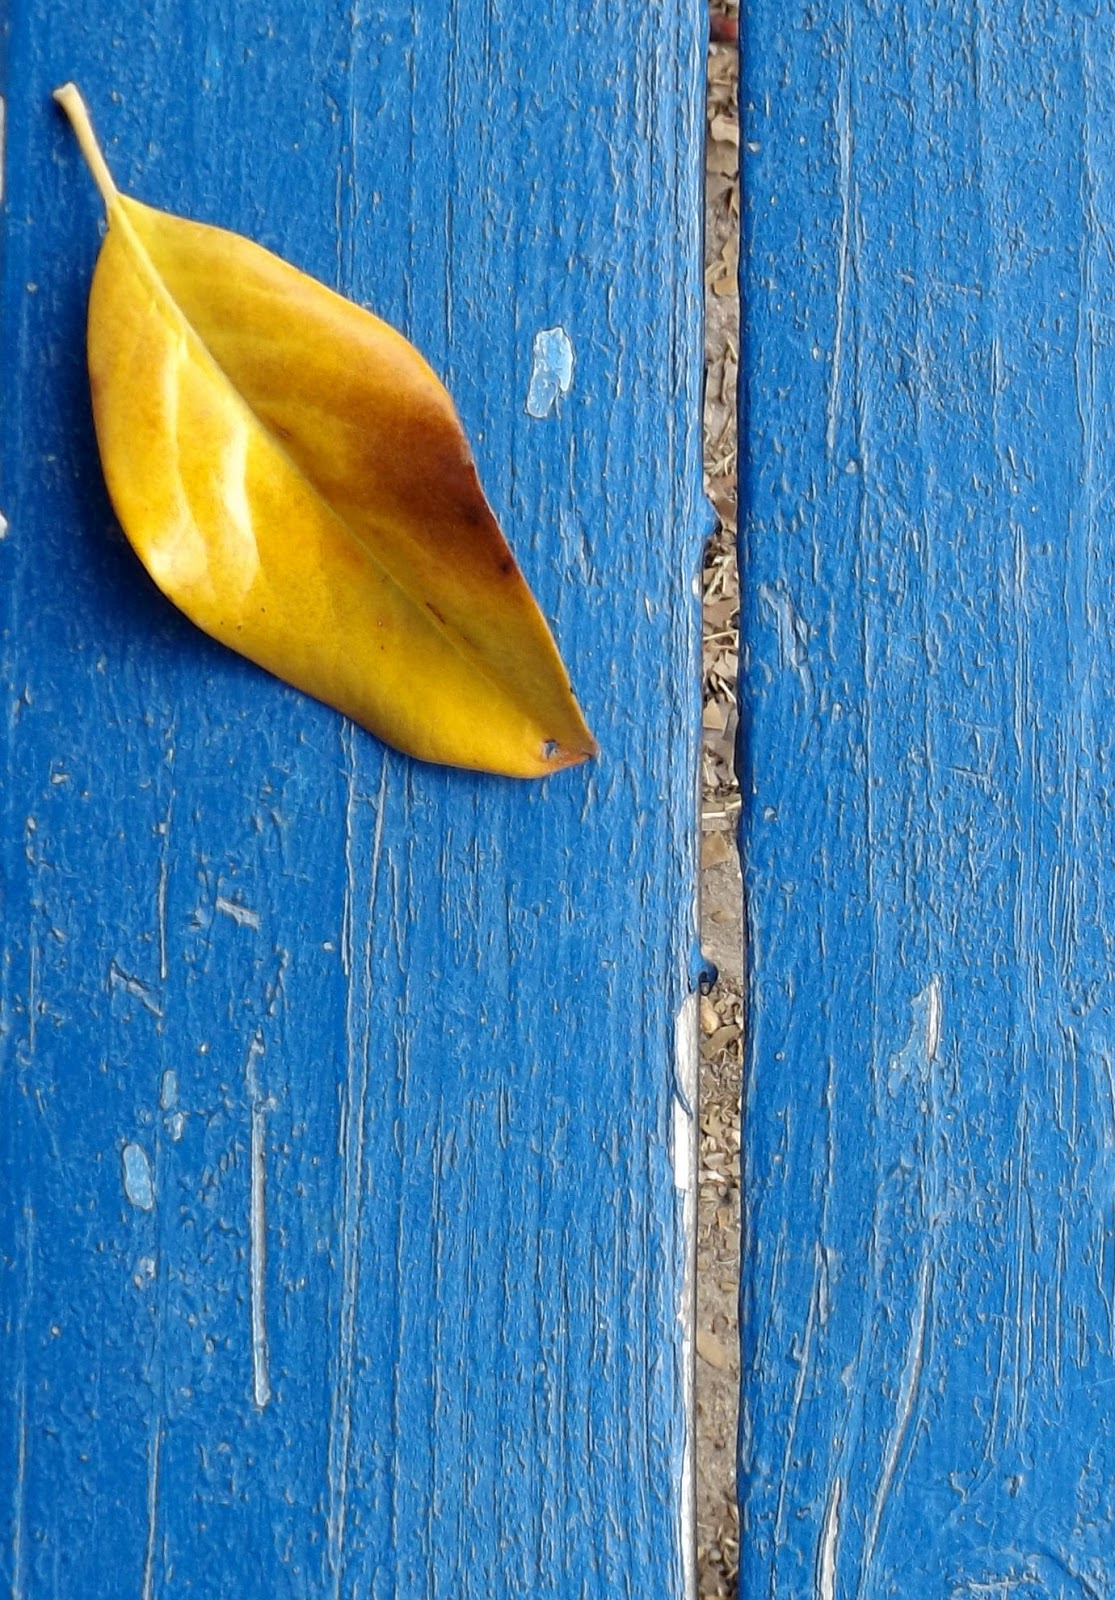
Radial balance in a photograph


Monday, October 3, 2016


Photo I: Continue editing your stock photos. You should have anywhere from 60-100+ stock photos from the last few days of shooting. After editing, I would expect that you have about 50 usable stock PNG files.

Photo II: Today is great lighting to take your selfie! Remember to crop in close to your face- even closer than my examples. You should have finished your stock photo edits and basic self portrait by today.

Photo II: Here is my original, basic selfie (top), an example of A work (middle), and an example of average work (bottom).