Tuesday, February 28, 2017

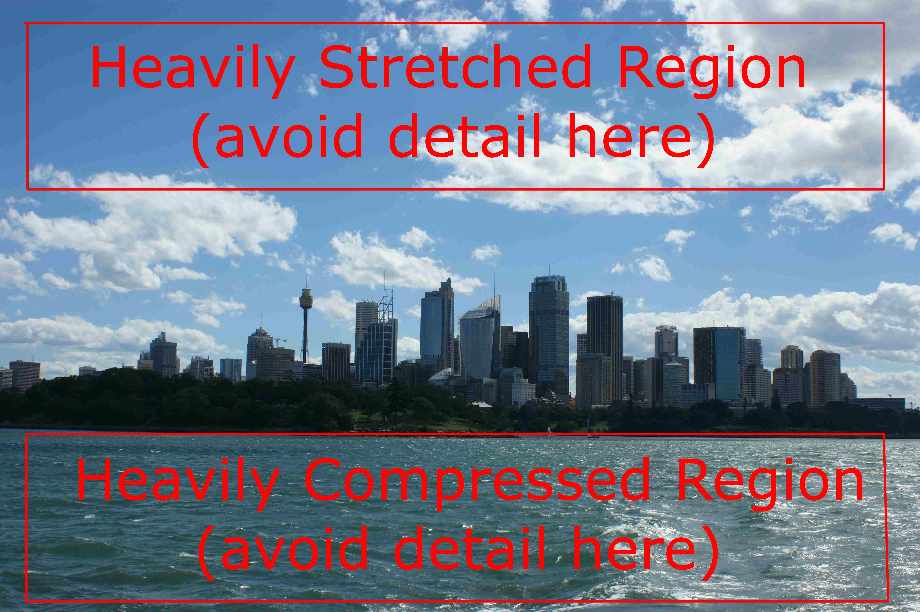
Make sure the ends of your panorama match up, or come close!

1. Run your panorama via FILE-->Automate-->Photomerge on automatic.
2. Merge your layers.
3. Click Image-->Image Size
4. UN-check "constrain proportions" at the bottom of the box.
5. Make the WIDTH (top box) match the HEIGHT (bottom box)
6. Click OK.
7. Click Image--> Image Rotation--> 180 to flip upside down
(I promise this is going somewhere)
8. Click Filter-->Distort-->Polar coordinates (make sure rectangular to polar is checked)
 All done!! Now, do Image-->Adjustments-->Levels and adjust your levels. 

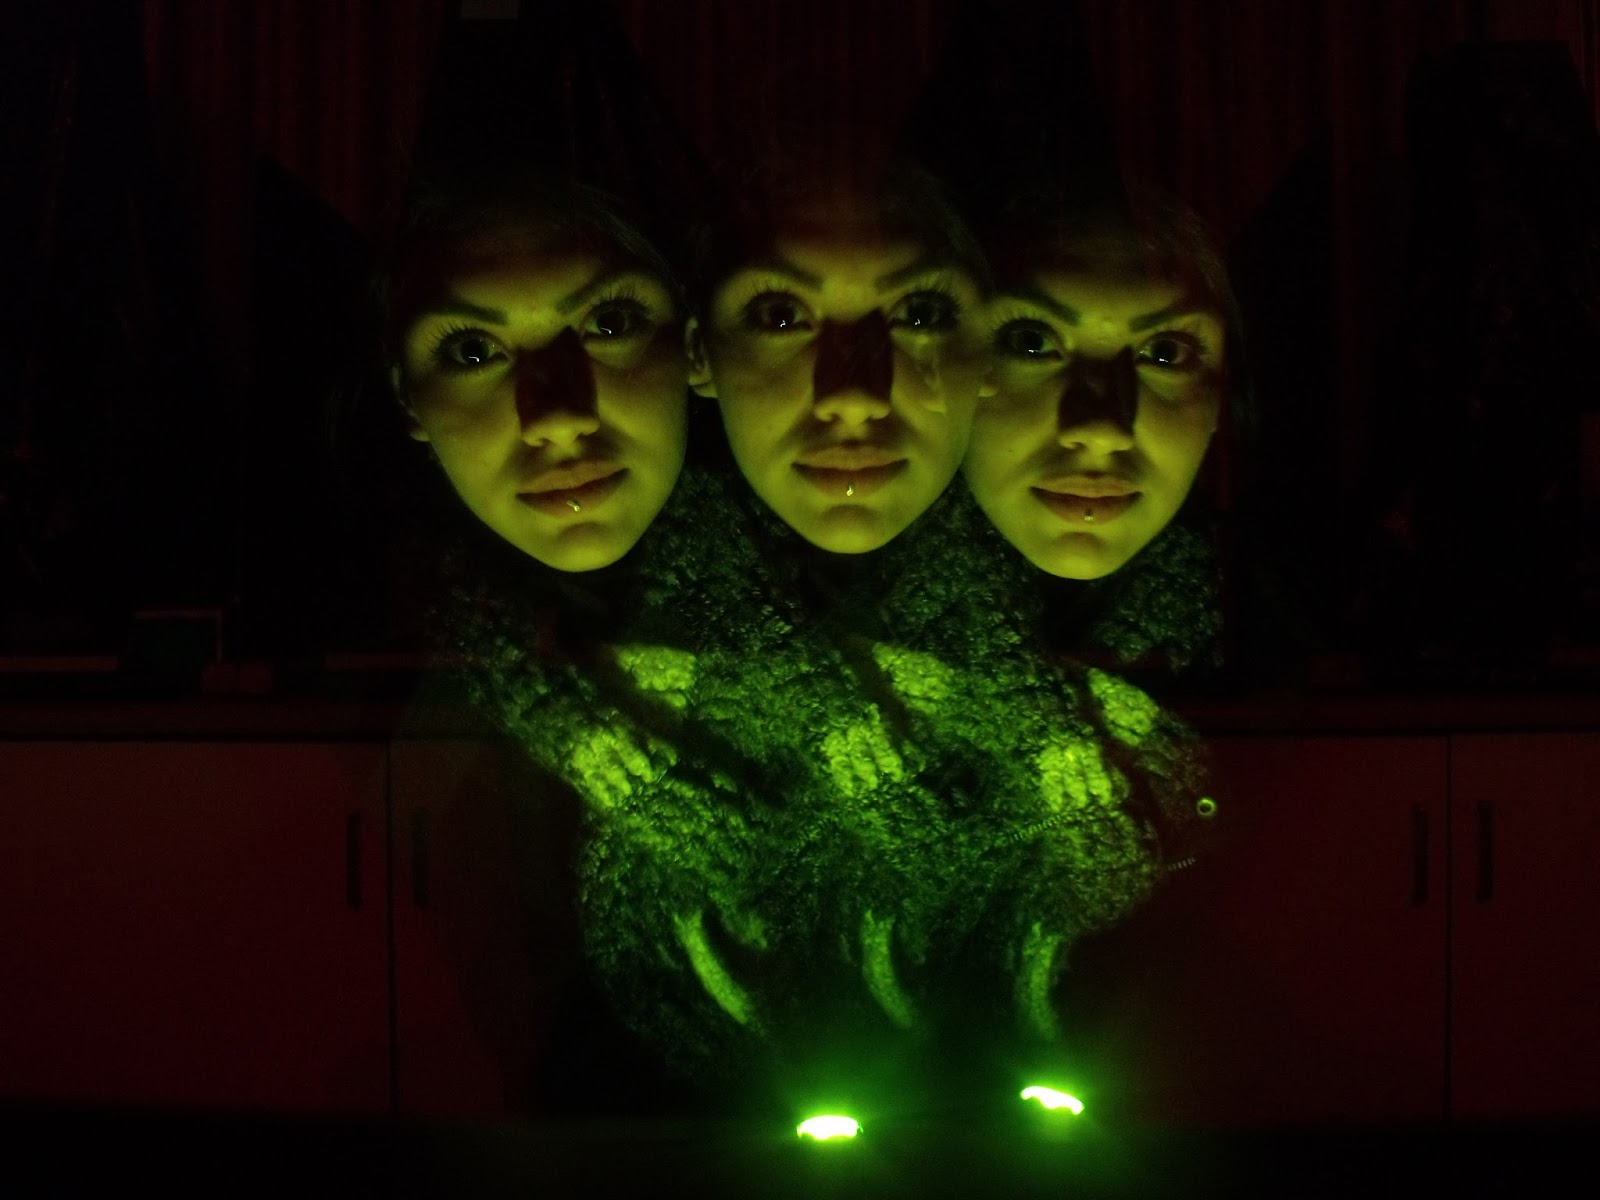
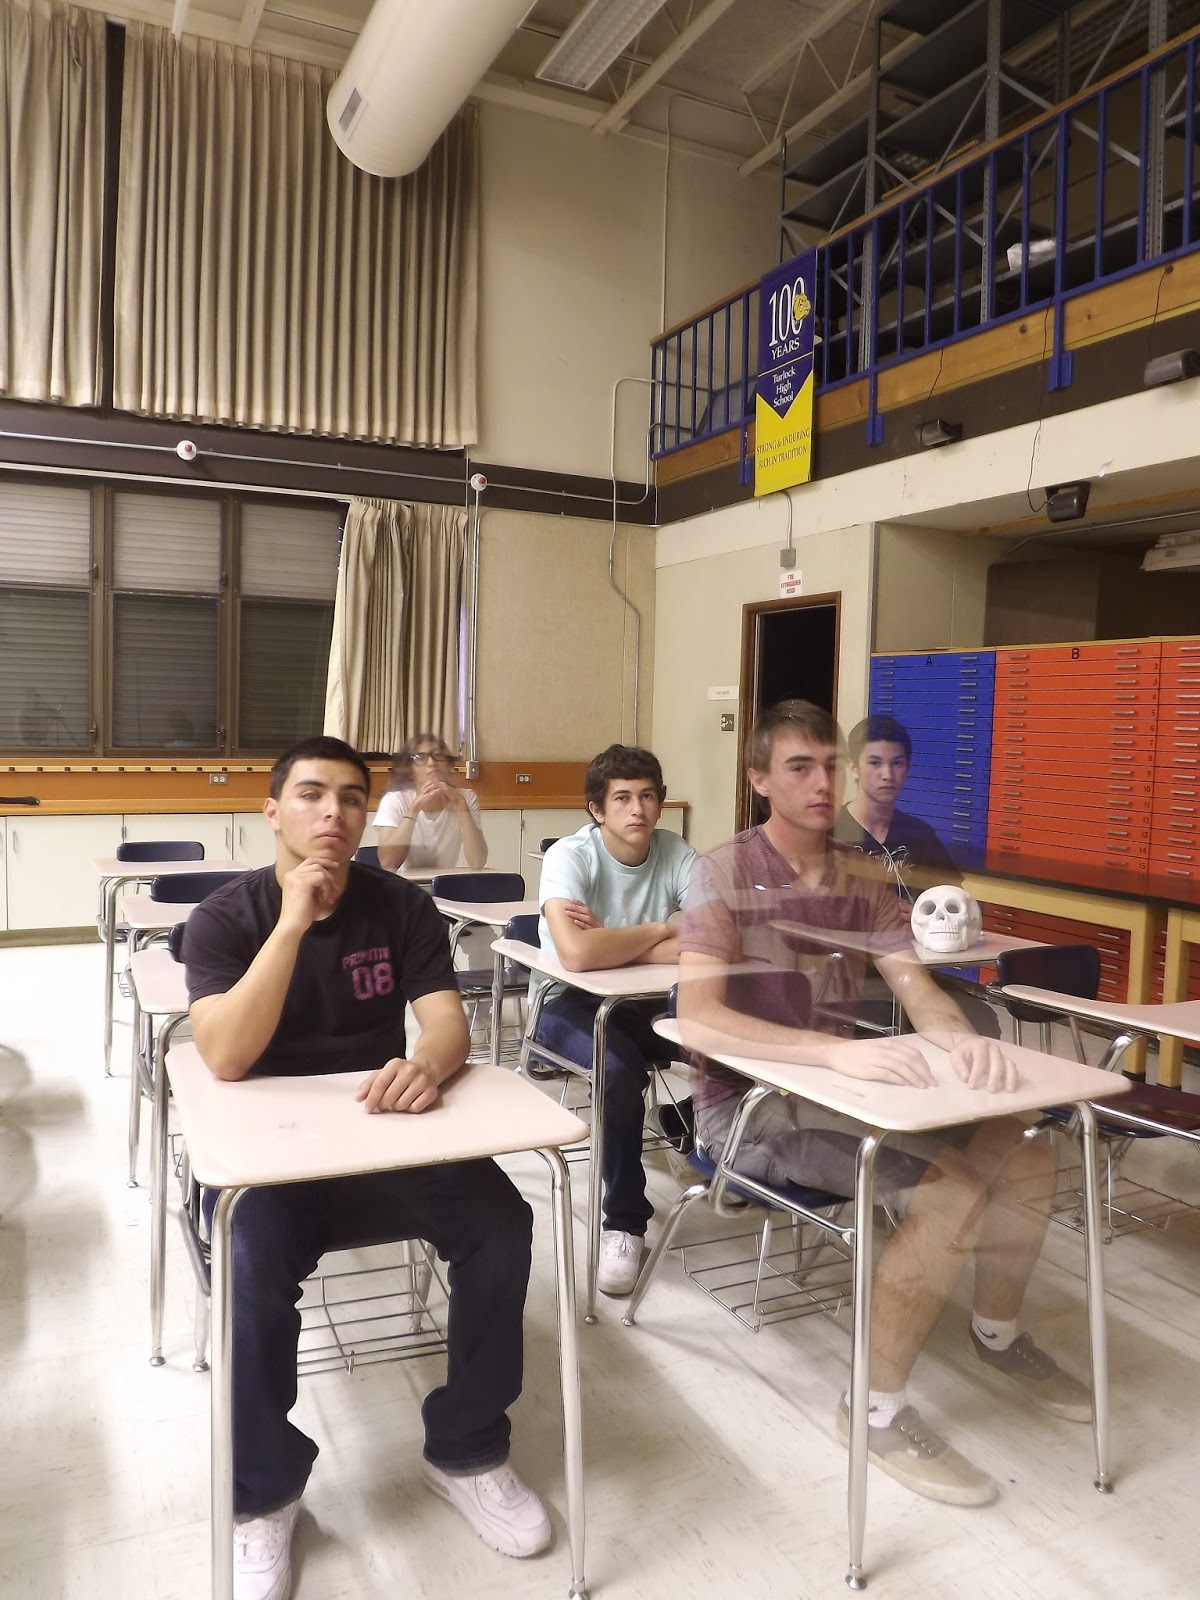
Do one INTERESTING landscape shot, and one interesting PEOPLE shot ;)

Monday, February 27, 2017

Taking a break...

I found an exciting project, so I'd like to take a break from technical camera tricks and try something fun outside, since it is not raining. First, google image search the term "stereographic projection". Basically, you can turn a standard panorama into a tiny planet! Check out the example below, from Jose in 7th:


Basically, we take a 360 degree panorama and complete the stretching effect in Photoshop. This can be done in as little as 6 images. We have to pay attention to placement of the horizon line and our subject. Remember you have to overlap your photos by a significant amount when shooting the stills for your panorama. Also, consider the top and bottom of your image. See below for placement tips:


When you get your 360 shot, come back and run it into a panorama in Photoshop. In case you forgot, you click file--> Automate--> Photomerge.

Friday, February 24, 2017

Creating a border and turning in

Finish up your light masterpiece today and add a border. One way is...
Once you have finished, merge all layers and click Fx--> Stroke. Change "outside" to "inside". Adjust for size and color.

If merging your layers makes you nervous, you can create a new layer, use rectangular marquee to raw a rectangle on the inner portion of the border, press CTRL-SHIFT-I to grab the outer border, and paint bucket a selected color in the empty space. See below for an example.
Draw inner square with rectangular marquee

Hit CTRL-SHIFT-I to invert the selection

Paint bucket a color sampled from your image


Finished early??
Try this Xtra Credit challenge: The principal LOVES to see our stuff, and loves to see anything THS/Bulldog related. Can you create a 5x5 blue and gold THS logo/icon using your light painting skills?

Tuesday, February 21, 2017

We are going to take our light painting images and tidy them up today, to get them ready for collaging. 
1. Crop any excess black background
2. Image-->Adjustments-->Levels. Set your black point, and adjust white slider for color if needed.
3. Any other changes you may want. You could change colors in Image-->Adjustments-->Hue/Saturation

Before:

Edited

When your images are tidy and bright, you can start layering them together in an interesting collage. Think of it like a name banner you create and decorate with glowing images.

1. File--> New. Width 10, Height 3, 300 resolution
2. Paint bucket the background black.
3. Open your light painting files and drag them into your 10x3 document using the move tool.
4. Set the blending mode of the layer to SCREEN.
5. Arrange your name and decorations so they look bright, interesting, and fun. I want to see multiple examples of each technique: writing (your name), silhouette, portrait, and drawings. (See the example I posted a couple days ago. Its a different size, but same idea!)

Tuesday, February 14, 2017

Lets try to make this the last full day of shooting in the dark. I would like to start trying to put these images together to make a collage tomorrow, if possible. Take the first 5 minutes of class to figure out what you HAVE and what you NEED.

You need at least:
-3 random designs (squiggles, stripes, swirls, anything)
-3 silhouette/portrait
-3 writing/drawing

Monday, February 13, 2017


Today we are going to concentrate on getting silhouettes! The person in front stays perfectly still while the person in back colors behind them with a glow stick or light.

Try to make sure you have your
1. Name and designs
2. Group drawings
3. Portraits
4. Silhouettes

Here's one of my favorite silhouettes of the day:


...The more you have, the better! We will be putting our light designs together into a big collage in photoshop, like this one:


Thursday, February 9, 2017


Check out this awesome light painting video from an old Sprint commercial. Today you will be focusing on drawing light pictures and scenes with a group. They can be super simple like eyes, flowers, a sun, etc. But try to coordinate multiple layers of color and action. You might have to re-do a scene multiple times to get it just right, but communication is the key! Here are a couple from past groups:


Also, make sure you have your name (or all the individual letters of your name) from yesterday!


Wednesday, February 8, 2017

Painting with light

Today we will be experimenting with "painting with light" in the dark.
A good place to start is to try writing, and get your name. You will have your name in lights! Do each letter and string them together in photoshop, OR, if you can write cursive and have a short name, you can even try it all at once. HINT: For extra credit, do friends or family members names, too!


Tuesday, February 7, 2017

THS Photo takes over the library

First, a special announcement....
  The photography students have their first "show" of the year at the Turlock library! We have great displays in both entryway cases featuring student work, famous photographers, and our antique camera collection. The displays will be up during the whole month of February.

Remember to check both entrances, because we have 2 displays. Snap a picture of you and friends with our art on your smartphone and submit to the Q3 extra credit folder for some extra POINTS!


For Today: Run your best 4 edited ghost images into a 2x2 contact sheet. Submit this and your BEST ghost photo to the folder. Your contact sheet should look something like this:


Also, we will be starting our painting with light unit tomorrow! Bring anything you have that lights up- toys, keychains, glow sticks, small flashlights, etc. If you finish with ghost images early, you can try out some techniques with the lights on your cell phone today.


Monday, February 6, 2017

It's time to transform your ghost images into something more spooky- Try these steps to making your ghost image creepier:

Crop out any large areas of dead space, or any messy edges on your backdrop.
Image---> Adjustments---> Black and white. Play with the sliders to increase contrast.
Image--> Adjustments--> Hue & Saturation. Click "colorize". Select a nice brown sepia tone, if you want an old western look.
Image-->Adjustments-->Levels to make sure your contrast is on point.

We will create a non-destructive vignette:

Create a new layer.
Get a black paint brush.
Change your paint brush to a large size with 0% hardness and about 10% opacity.
Begin to brush the corners and edges of your photograph on the new layer.
If it is too much or looks strange, you can use the eraser tool to fix the photo.

While it is not a "ghost" image, here is a good before and after shot with spooky editing:


Friday, February 3, 2017

Good Ghosts!

Here are a couple nice ghost images that have popped up over the last two days. Today is the final day to shoot, so make use of your time wisely. Each person should end up with 4 nice, clean ghost images. That does not mean only 4 total- that means 4 that worked perfectly. You might have to take 15 for 4 to come out good. Hold your breath, and concentrate!

Out of ideas? Try some of these:
*2 ghosts hugging each other
*ghost "arms" behind someone
*close up, opening and closing your eyes
*close up with a ghost next to your face
*1 person is perfectly still- 2 people on the side shake your head for 8 sec
*many ghost hands reaching out to someone
*face to face with a ghost, close up
*ghost walking out of someones body (starts standing behind them)


Wednesday, February 1, 2017

GHOSTS!


Check out some of the good ghost images from last year...


This is accomplished by setting your ISO as low as possible, and setting your shutter speed to the max (8"). Make sure to use a tripod! Your "ghost" will stay in the picture for only part of the time the shutter is open, depending on how translucent you want it.